ボットのインストール
1. AllContributors GitHub App のインストール
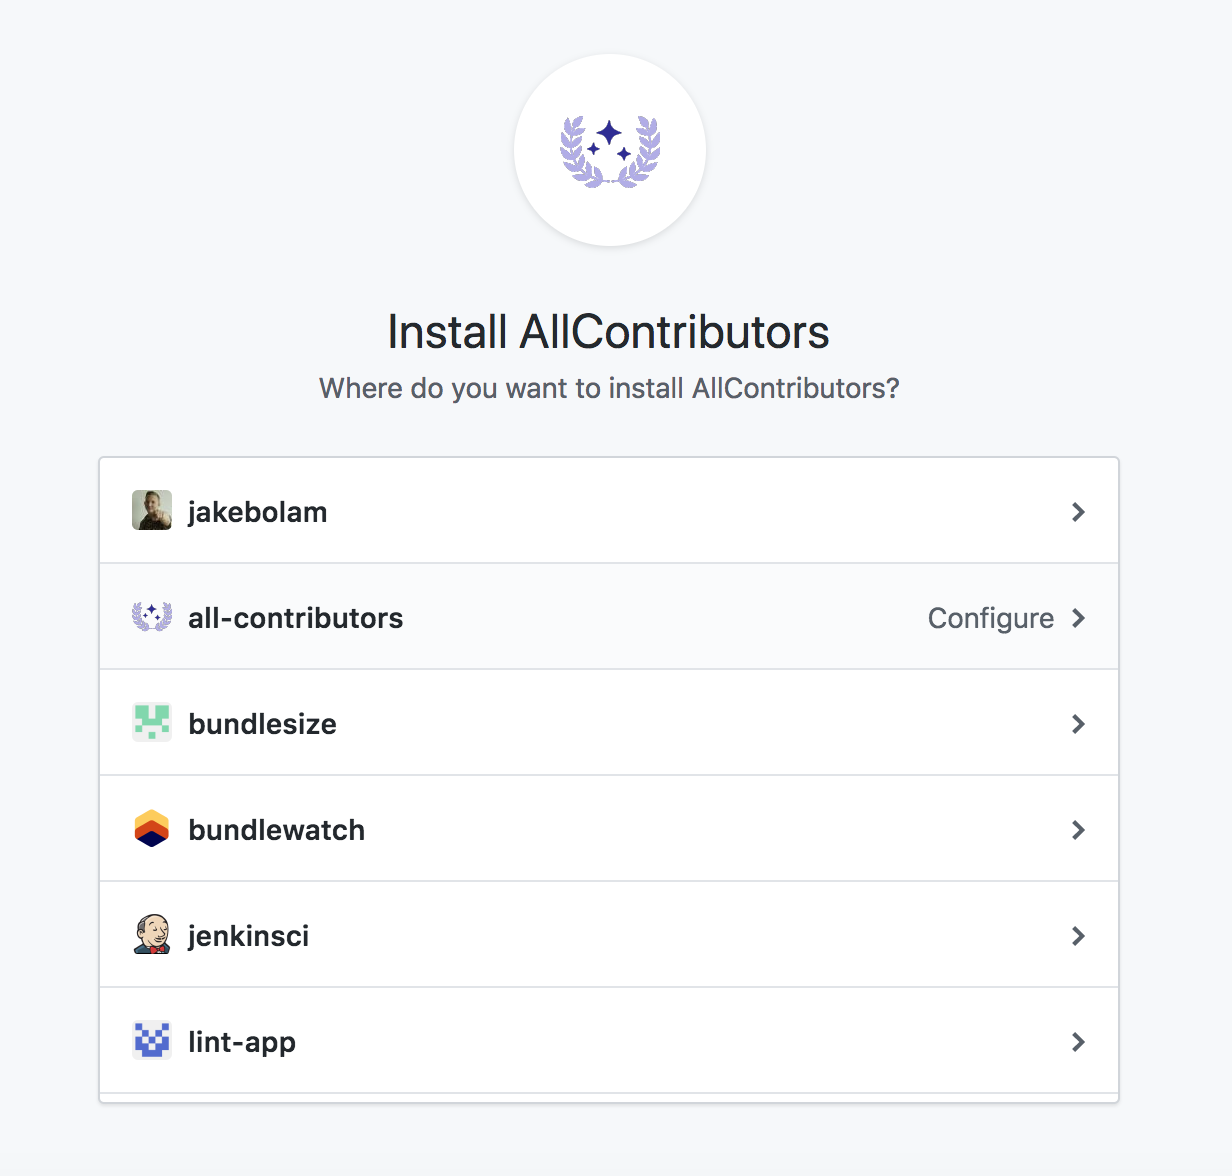
2. リポジトリの設定

3. README.mdの作成
Ensure you have a README.md file at the root of the project (it can be empty).
README.md以外の場所にコントリビューターテーブルがある場合は、最初のボットによるPRがマージされたあとに、移動させることができます。ボットの設定にあるfilesを参照してください。
Make sure to add this in the markdown:
For the list:
## Contributors

<!-- ALL-CONTRIBUTORS-LIST:START - Do not remove or modify this section -->
<!-- prettier-ignore-start -->
<!-- markdownlint-disable -->

<!-- markdownlint-restore -->
<!-- prettier-ignore-end -->

<!-- ALL-CONTRIBUTORS-LIST:END -->
Note: Extra line is very important in order to make it work properly.
For the badge use the following, replacing projectOwner with the relevant GitHub username or organization name, and projectName with the relevant the GitHub repo name. Style, color, and other parameters can be customized to your liking — see https://shields.io/.
[](#contributors)
Please create the
.all-contributorsrcfile for the first configuration. It can only have the mandatory information in it to begin. The bot will update it automatically with default config in the first PR. Here is the minimal.all-contributorsrcfile to add in your repo :{ "projectName": "<insert the repo's name>", "projectOwner": "<insert the repo's owner/orgs>" }
4. コントリビューションドキュメントを更新
CONTRIBUTING.mdかそれに類似したコントリビューターが自分自身を追加する方法に関する手順を追加したドキュメントを更新しましょう。 ボットの使用ドキュメントにリンクすることもできます。